简体中文
简体中文 English
 русский
 Español
Understanding the Master Link
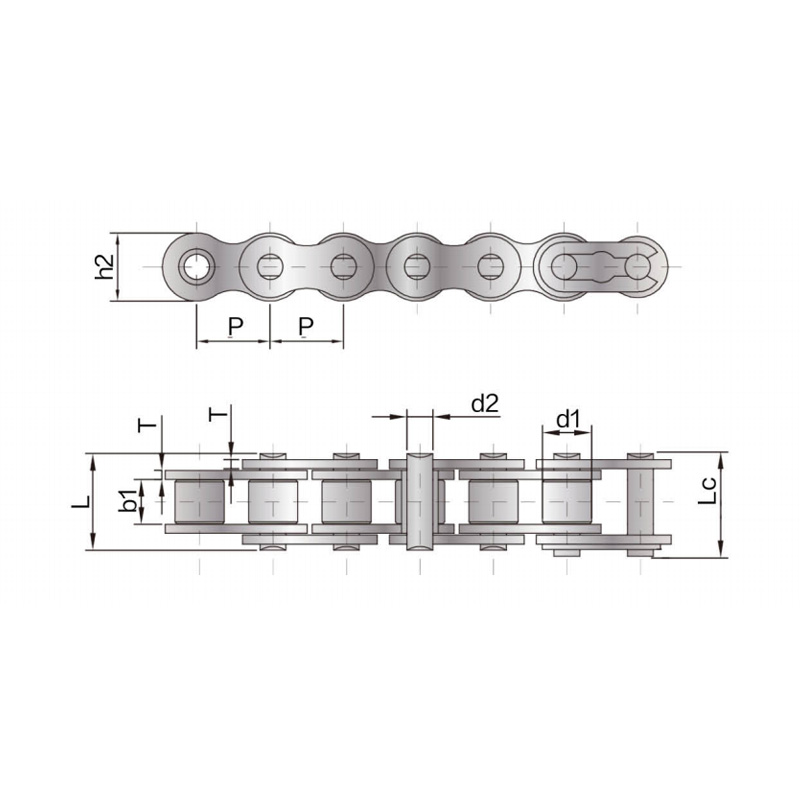
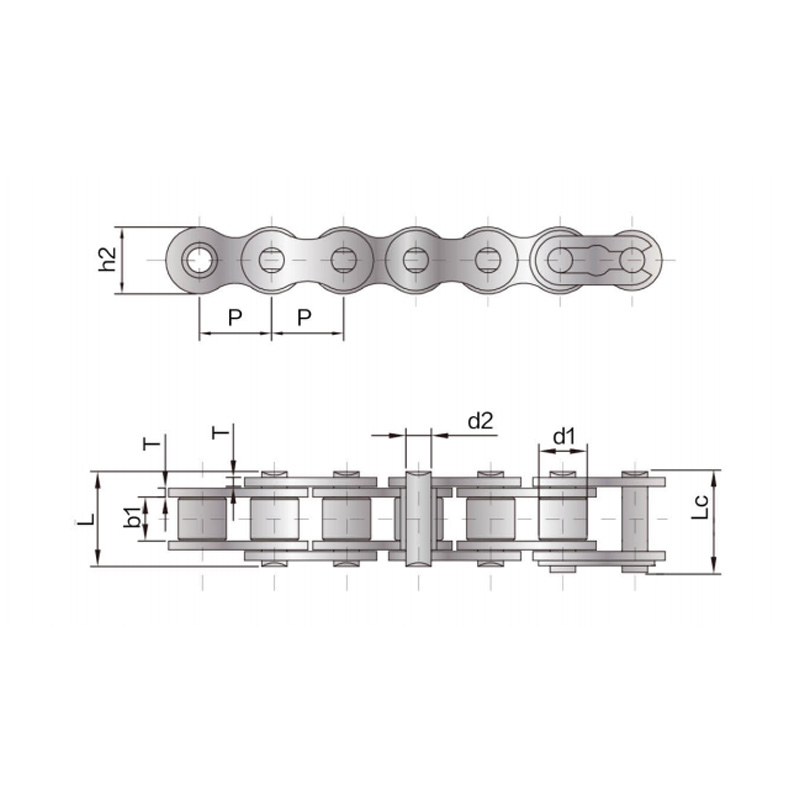
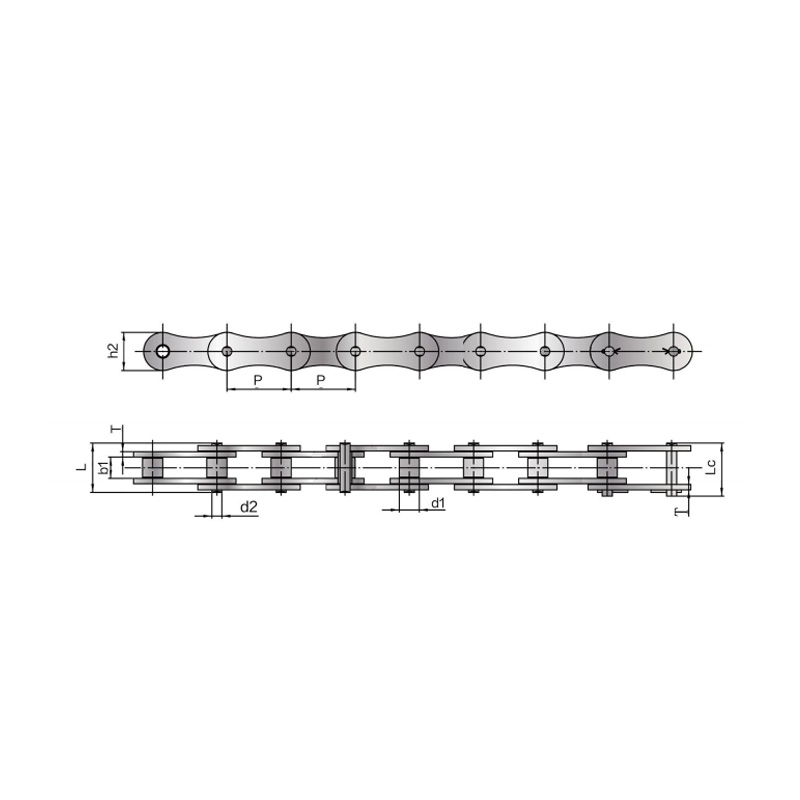
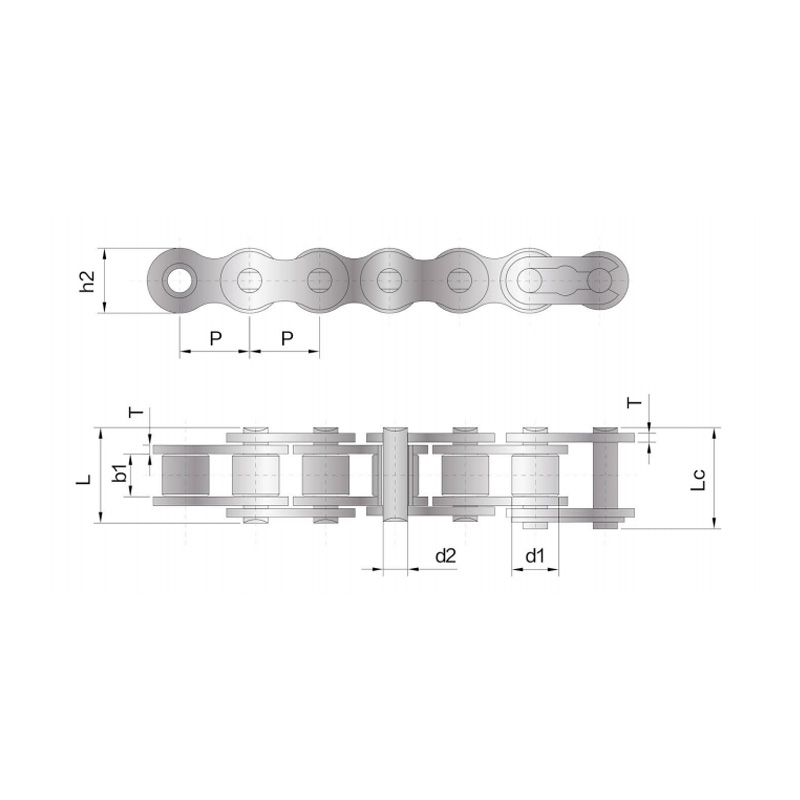
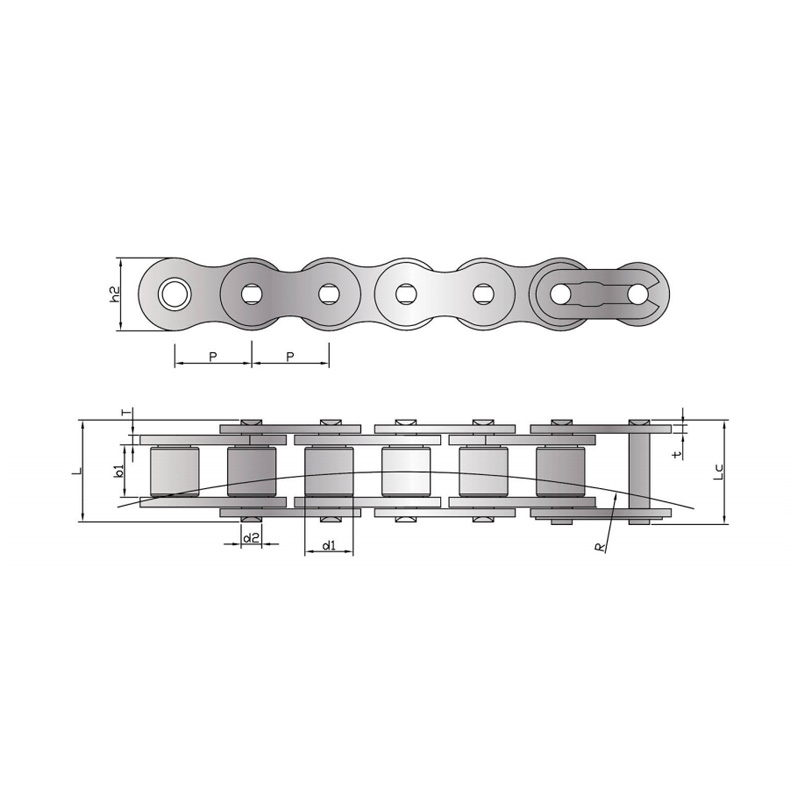
A master link, also known as a connecting link, is a removable and reusable component designed to join the two ends of a driving chain. Unlike a standard chain pin pressed permanently into the side plates, the master link features a special clip or cotter pin that allows for installation and removal with basic tools. It consists of two side plates, two pins, and a retaining clip or spring clip. Correctly identifying and installing this link is critical for safety and operational integrity, as a failure here can cause the entire chain drive to separate under load.
Essential Tools and Safety Precautions
Before starting, gather the necessary tools and prioritize safety. You will need a pair of chain breakers or a chain press tool, a pair of pliers, and safety glasses. Always disconnect and lock out any power source to the machinery. Ensure the machine is in a state where the sprockets cannot rotate freely. Working on a stable, well-lit surface is crucial. Never attempt to connect a chain under tension, as this can lead to improper seating of the master link and immediate failure.
Safety Checklist
- Wear safety glasses to protect eyes from flying metal clips.
- Use heavy-duty gloves to protect hands from sharp chain edges.
- Ensure the chain is completely relaxed and free of load.
- Verify the master link is the correct size and type for your chain (e.g., ANSI 40, 50, 60).
Step-by-Step Installation Process
Follow this detailed procedure to correctly install a clip-type master link, the most common variety for industrial roller chains.
Step 1: Prepare the Chain Ends
Use a chain breaker tool to push out a pin from one end of the chain, creating an inner link. The other end should be an outer link (with the hollow barrels, or "bushings," visible). The master link will bridge these two ends. Clean both ends thoroughly of old grease and debris to ensure a smooth fit.
Step 2: Position the Master Link Components
Slide the two master link pins through the bushings of the inner link end. Then, carefully fit the two special outer side plates over the pins. These plates have grooves or notches near the pinholes to receive the spring clip. Ensure the closed end of the spring clip faces the direction of chain rotation.
Step 3: Secure the Spring Clip
This is the most critical step. Using pliers, first snap the open end of the clip into the groove on one pin. Apply firm, even pressure until the clip seats fully into its groove around the entire pin. The clip must be flush and secure. A properly installed clip will have a distinct "snap" feel.

Critical Orientation and Rotation Direction
The orientation of the spring clip is non-negotiable for safety. The closed, rounded end of the clip must lead in the direction of chain travel. This prevents the open ends from catching on the sprocket or any guard during operation, which could pry the clip off. For bidirectional systems, a cotter-pin style master link or a riveted master link is often recommended.
| Clip Type | Correct Orientation | Best For |
| Spring Clip (G-shaped) | Closed end faces direction of rotation | Unidirectional drives, easier maintenance |
| Cotter Pin | Pin legs bent outward to secure | Bidirectional or high-vibration drives |
| Riveted (Non-detachable) | Pins are peened permanently | High-speed, high-load, or safety-critical drives |
Post-Installation Verification and Maintenance
After installation, do not immediately apply full load. Manually rotate the sprockets for several complete revolutions, observing the master link's passage. Listen for any clicking or catching. Visually check that the clip remains fully seated after each pass. Apply the recommended chain lubricant. Establish a routine inspection protocol where the master link is checked for security during regular maintenance, looking for any signs of movement, wear, or clip deformation.
Common Mistakes to Avoid
- Backward Clip: Installing the clip with the open end leading the rotation is the most common and dangerous error.
- Improper Seating: Not pushing the clip fully into the pin grooves, leaving it partially attached.
- Mismatched Parts: Using a master link from a different chain size or manufacturer, leading to poor fit and rapid failure.
- Over-tensioning: Applying excessive tension after installation puts disproportionate stress on the master link pins.
- Reusing Old Clips: Spring clips lose their temper and become weak; always use a new clip from the master link kit.
When to Use a Riveted Master Link
For applications involving high speed, heavy shock loads, or where reliability is paramount (such as motorcycle final drives or critical industrial machinery), a riveted master link is the standard. This type uses pins that are mechanically flared or "peened" on the outer plate, creating a permanent connection as strong as the chain itself. Installation requires a special chain press and riveting tool. For most general industrial drives, a properly installed and maintained clip-type master link is sufficient, but always consult the original equipment manufacturer's specifications for the final determination.